Step 1: Confirm the Source and Stop Active Entry
- Identify which window well is actively flooding. Look for water at the interior sill, staining on the drywall apron below the window, or pooling on the floor directly beneath.
- Measure the standing water depth in the well using a yardstick. Anything above 4 inches from the sill plate is an active intrusion risk.
- If safe, place a tarp or 6 mil polyethylene sheet over the well opening, anchored with bricks or sandbags at the four corners. This diverts incoming rain while you address the existing volume.
- Shut off electrical power to any basement circuits with outlets within 4 feet of the wet zone at the panel.
- Check adjacent wells on the same elevation. In Carthage, soil saturation during sustained rainfall causes multiple wells to fail in sequence, not isolation. Confirm each one before committing equipment to a single location.
- If the intrusion is paired with a sewer backup or a sump pump failure, stop work and call Carthage Water Restoration immediately. Mixed source events require different containment and PPE than clean rainwater.
Step 2: Evacuate Water from the Well
- Use a submersible utility pump rated for at least 1,500 GPH with a 1 inch discharge. Position the discharge hose to daylight at least 10 feet from the foundation.
- If no pump is available, bail with a 5 gallon bucket. Two people working in rotation can clear a standard 36 by 24 inch well in 15 to 20 minutes.
- Once the well is drained, inspect the gravel base. The well should have 4 to 6 inches of clean #57 stone over a functional drain tile connection. Mud or fine sediment indicates the drain has failed.
- Probe the drain opening with a length of 1/2 inch PVC. If you meet resistance within 12 inches, the line is blocked.
- Inspect the well wall itself. Galvanized steel wells over 20 years old often develop rust perforations at the soil contact line, allowing groundwater to enter laterally even after the surface volume is removed.
Step 4: Extract Interior Water
- Remove standing water with a wet/dry vacuum (minimum 12 gallon capacity) or, for volumes over 50 gallons, a truck mounted extractor pulling 200+ inches of mercury lift.
- Pull the baseboard within 24 inches of the wet zone on both sides of the window. Use a 5 in 1 tool and a flat pry bar to avoid drywall tear out.
- Drill 3/8 inch weep holes in the bottom plate cavity, one per stud bay, 2 inches above the floor line. This vents trapped moisture in the wall cavity.
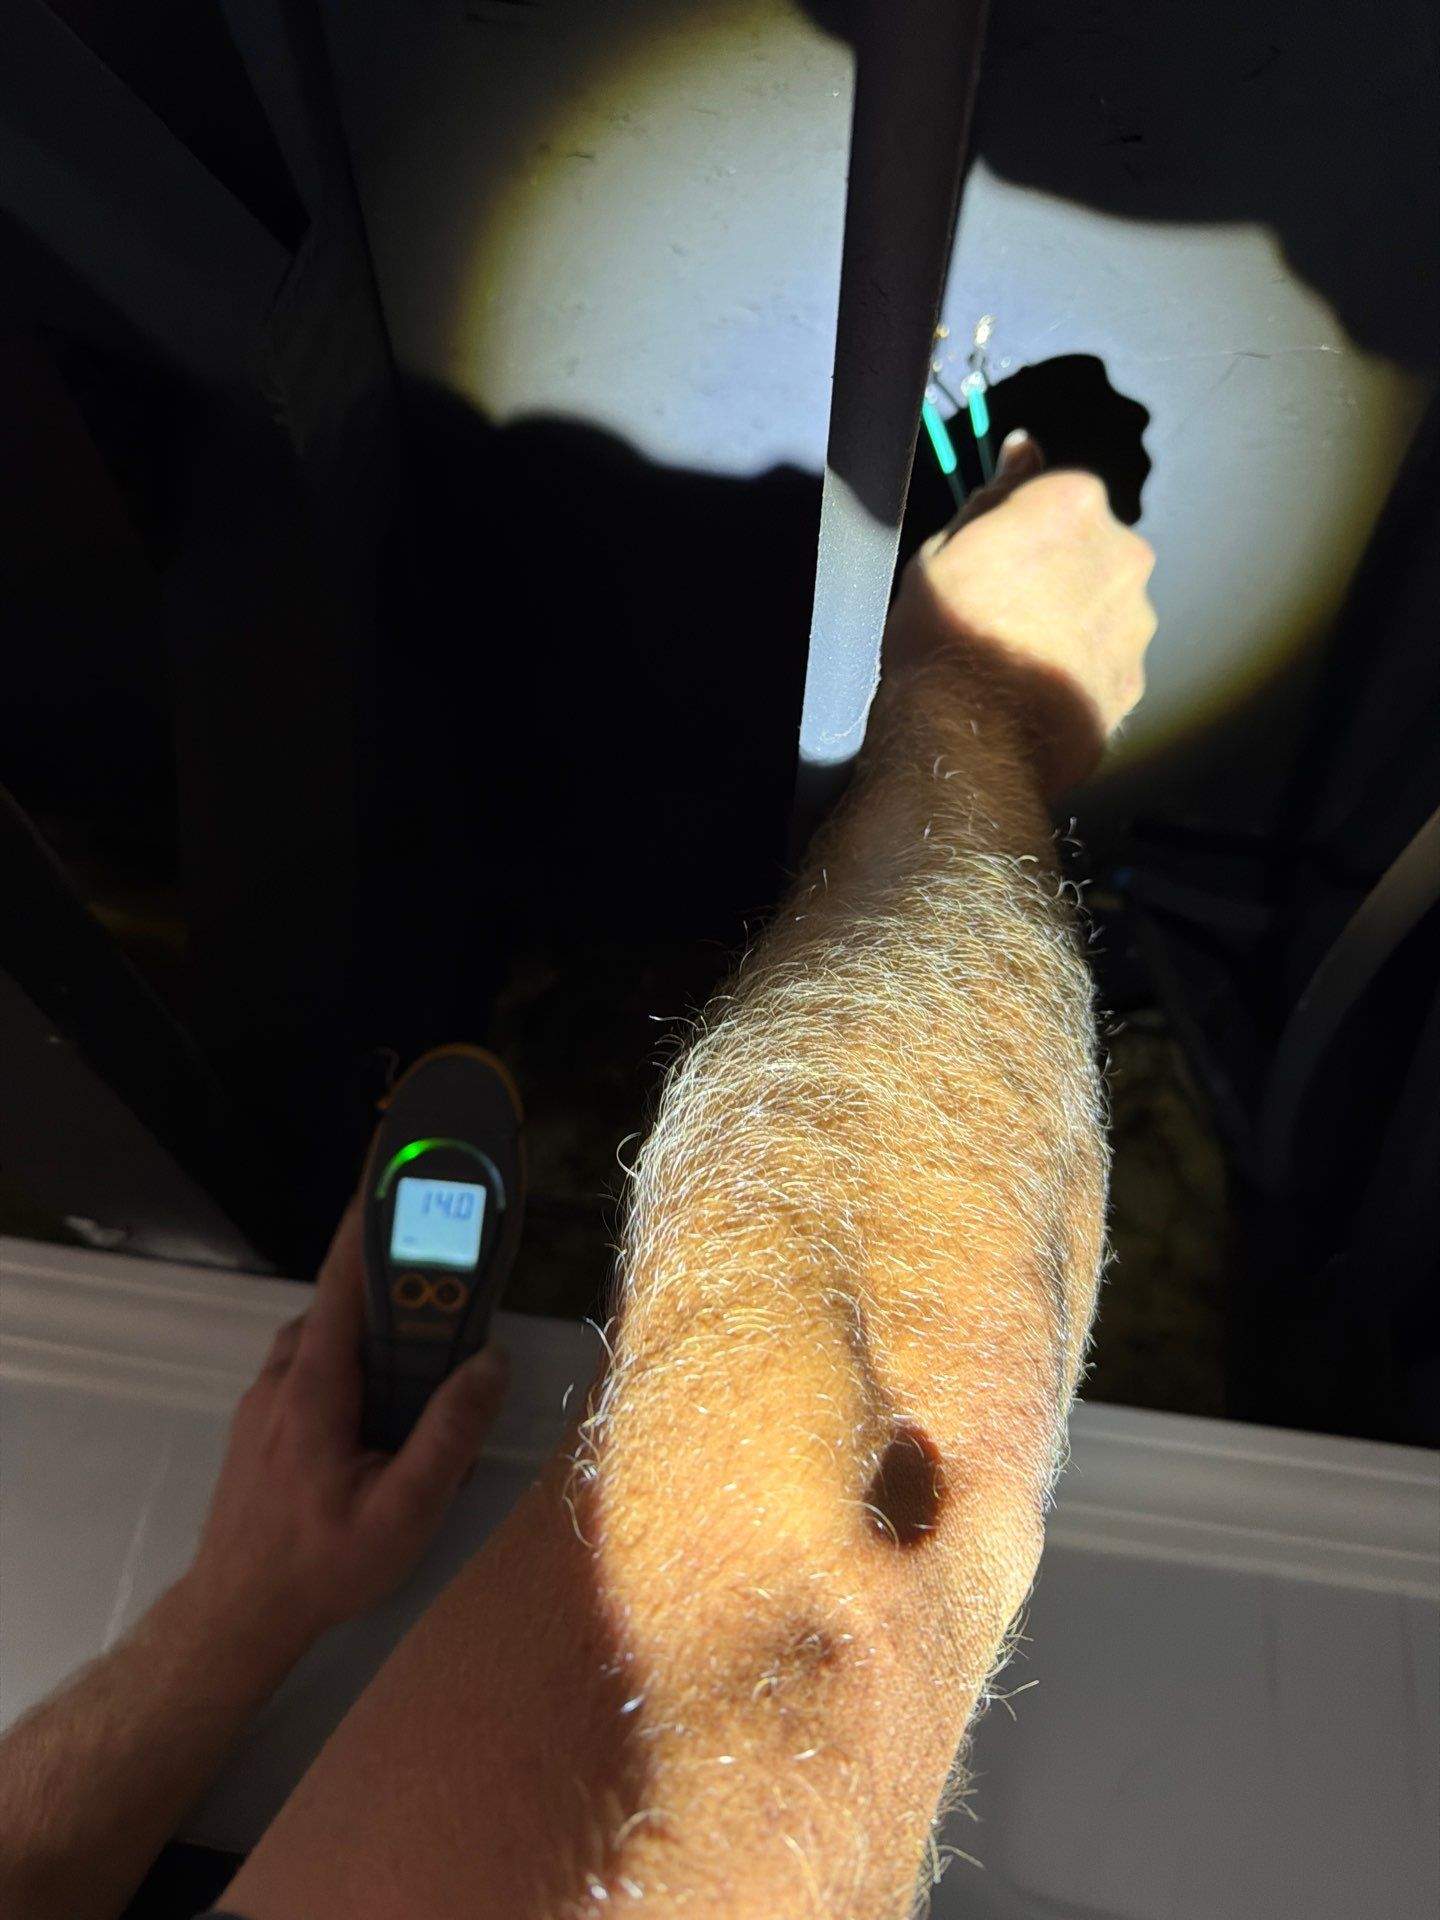
- Check the subfloor with a pinless moisture meter. Readings above 16% on wood subfloor require active drying.
- If carpet is present, detach from the tack strip on the affected wall and float the pad. Discard pad sections that have absorbed more than 1 gallon per square yard.
Step 8: Verify and Release
- Final moisture readings must match dry standard within 2 percentage points across all affected materials.
- Conduct a visual mold inspection per S520 protocol. If suspect growth exceeds 10 square feet, escalate to remediation.
- Reinstall insulation, drywall, and trim only after readings are stable for 24 hours.
- Provide the homeowner with a complete moisture log, equipment runtime, and any recommendations for grading or drainage upgrades. For severe events, our basement flooding service covers full restoration including finish reinstallation.
- Schedule a 30 day follow up inspection. Latent moisture in concealed framing can surface as paint blistering or musty odor weeks after release, and a second walk through closes that gap.
Step 7: Address the Window Well Itself
- Clear the drain tile. Snake the line with a 25 foot cable auger. If the line is collapsed or terminates into compacted soil, full excavation is required.
- Reset the gravel bed. Remove existing fines, install 6 inches of #57 stone over a fabric sleeved drain.
- Install a polycarbonate cover, minimum 1/4 inch thickness, sized to overlap the well lip by 2 inches on all sides.
- Re caulk the window frame perimeter with a polyurethane sealant rated for below grade exposure. Tool a 3/8 inch bead.
- Verify grade slopes away from the foundation at minimum 6 inches of fall over the first 10 feet.
- Extend downspouts that discharge within 6 feet of the well to a minimum 10 foot runout, or tie into a buried solid PVC line discharging to daylight.
Step 3: Document and Notify
- Photograph the well, the interior intrusion point, and any visible damage. Capture timestamps.
- Note the water category. Rainwater entering through a clean well is Category 1 at hour zero, but it degrades to Category 2 within 48 hours if standing water contacts soil, drywall paper, or organic dust. Our guide on water damage categories explains the timeline.
- Contact your insurance carrier and request a claim number. Surface water from grade is often excluded under standard policies, but documentation protects you regardless.
- Call Carthage Water Restoration for dispatch. Our crews arrive within 2 hours in most cases with extraction, drying, and moisture mapping equipment ready to deploy.
- Record the rainfall total for the event. The local NOAA station or a verified personal weather station log establishes the storm intensity, which becomes relevant if the claim is contested as a maintenance issue rather than a weather event.
Step 6: Establish the Drying Environment
- Deploy one LGR dehumidifier per 1,000 square feet of affected area, rated for at least 130 pints per day at AHAM conditions.
- Position air movers at 16 to 18 inch spacing along wet surfaces, angled at 15 to 20 degrees to the wall.
- Target interior conditions: 70 to 90 degrees F, relative humidity below 50%, GPP differential of 30 or greater between inside and unaffected reference areas.
- Monitor twice daily. Record temperature, RH, GPP, and material moisture content. Expect 3 to 5 days for typical structural drying.
- Containment matters. Hang 6 mil poly across the wet zone to limit the drying volume. Smaller containment areas reach equilibrium 30 to 40% faster than open basements.
Step 5: Inspect Hidden Cavities
- Remove the window trim and inspect the rough opening. Water often tracks behind the jamb and pools in the framing pocket.
- Pull insulation within 18 inches of the intrusion point. Wet fiberglass loses R-value and harbors microbial growth. Bag and dispose.
- Measure moisture content in the studs at three heights: 6 inches, 18 inches, and 36 inches above the plate. Document each reading. Our team uses the same approach described in our hidden water damage detection overview.
- If drywall shows wicking above 12 inches, mark a flood cut line at 24 inches and remove the lower section.
- Scan the ceiling cavity below the affected wall on multi level basements. Water tracks along the top plate and emerges 6 to 10 feet away from the original entry point.